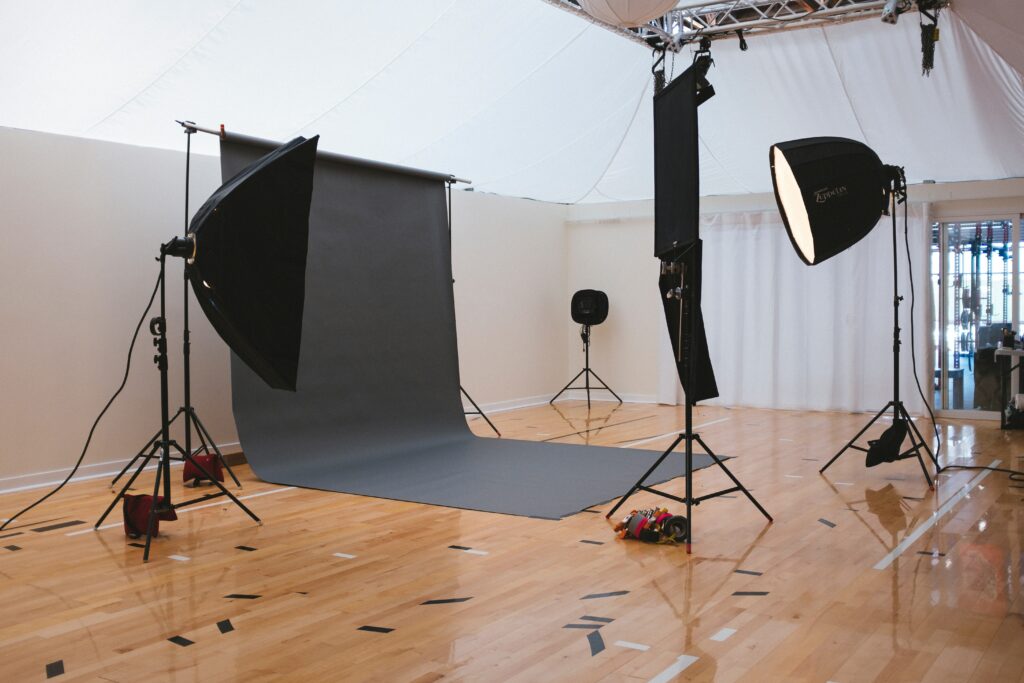
If you have ever wrestled with tangled cords, clunky light stands, or a cramped floor space during back to back mini sessions, you know the struggle. The secret to a professional, organized studio is not just the quality of your lights, it is how you mount them.
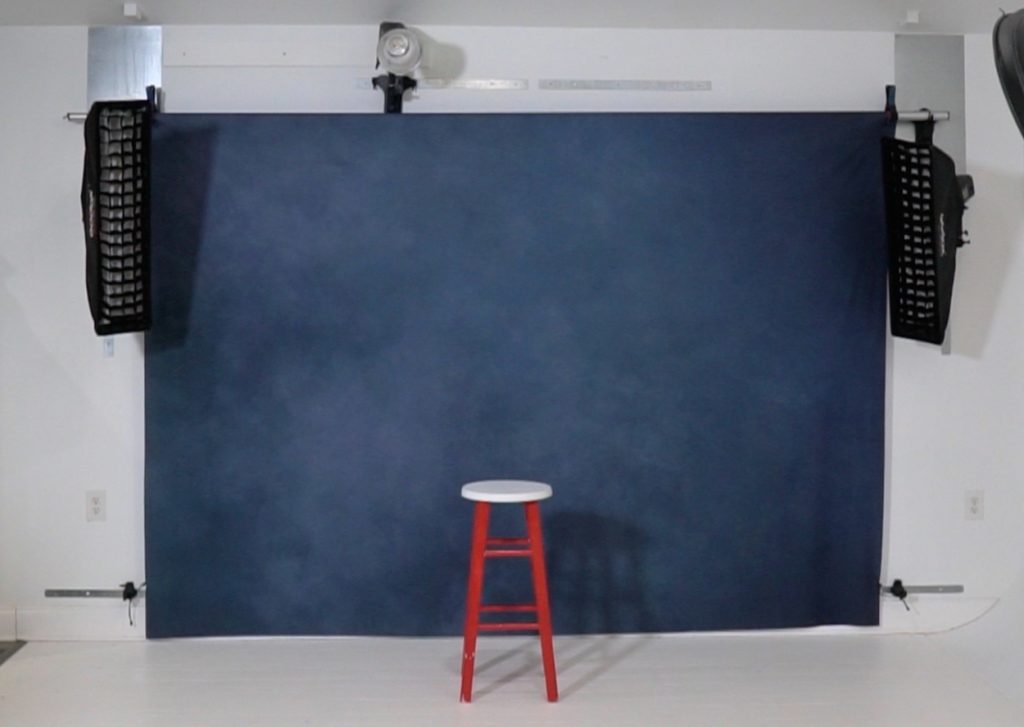
TogDrop integrated lighting mounts take the chaos out of lighting. Instead of juggling floor stands and trip hazards, your lights attach directly to your TogDrop system, creating a clean and repeatable setup that saves time, space and energy.
You might not eliminate every stand completely and that is okay. Keeping one movable stand for your main or accent light gives you flexibility when needed. The goal is to minimize how many you rely on so you can make the most of your available space and your TogDrop setup.
Let’s look at how integrated lighting changes your workflow.
The Problem with Traditional Light Stand Setups
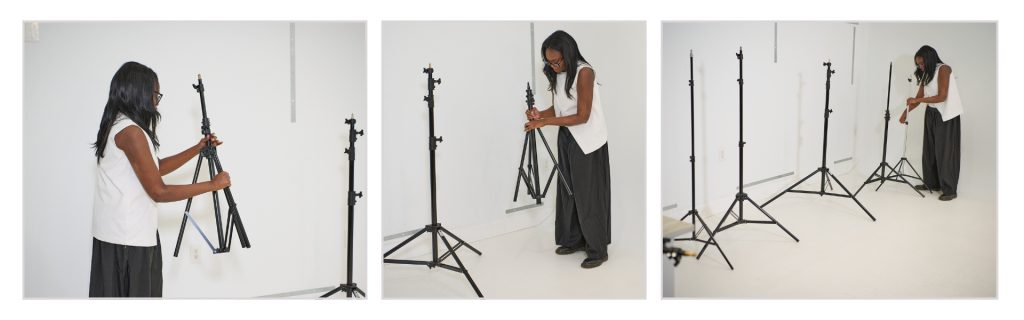
Space constraints
Traditional light stands take up valuable floor space. In a small home studio, every square foot matters and stands create clutter, limit client movement and make your workspace feel crowded.
Setup time
Constantly setting up and breaking down light stands between sessions wastes time. For photographers running mini sessions, those minutes can create delays or rushed experiences.
Inconsistency
Without a fixed mounting system, even a small shift in light placement changes the look of your images.
Safety
Light stands can be trip hazards. When kids or families are moving through your set, you need a clear and safe floor area.
The Solution, Integrated Lighting Mounts
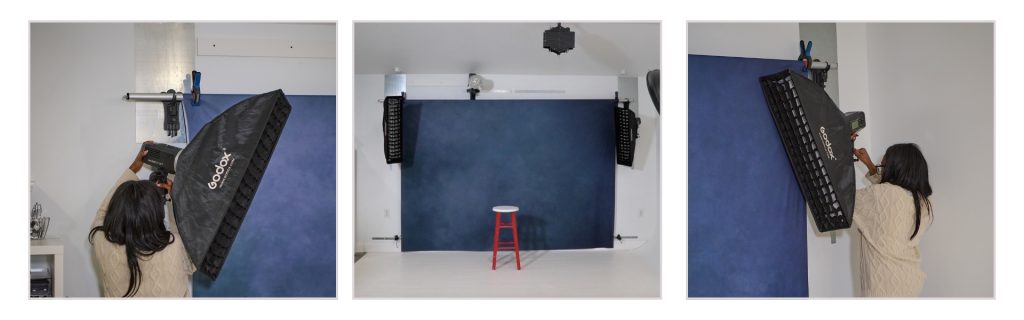
What Are Integrated Lighting Mounts
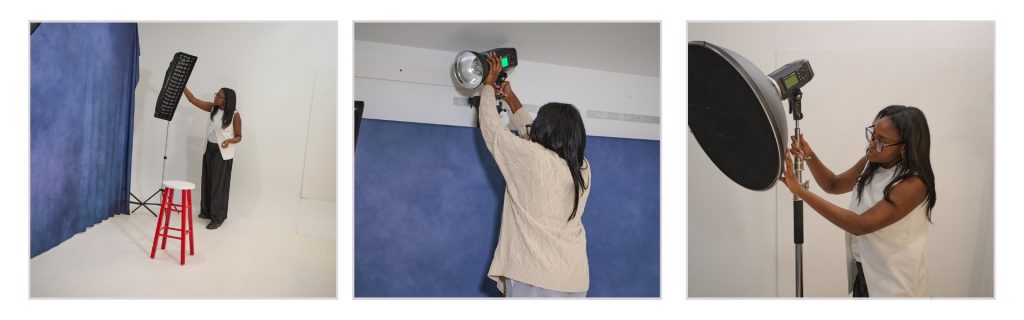
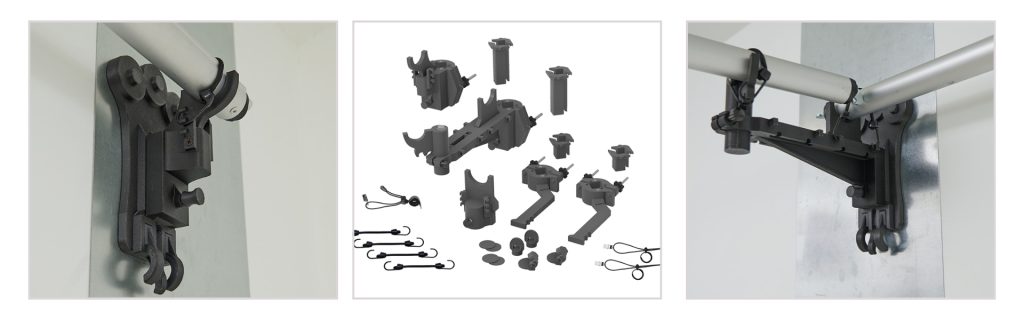
Integrated lighting mounts connect directly to your TogDrop system. Your lights attach to the same structure that supports your backdrops or wall mounts which allows your lighting and your backdrop setup to work together as one.
Key Benefits of TogDrop Integrated Lighting
1. More floor space because lights attach to your TogDrop base
2. Consistent lighting because your placement stays locked in
3. Faster workflow because nothing needs to be moved between sessions
4. Safer environment because there is less equipment on the floor
5. Portable and flexible because your lighting travels with your TogDrop setup
How to Set Up Integrated Lighting with TogDrop
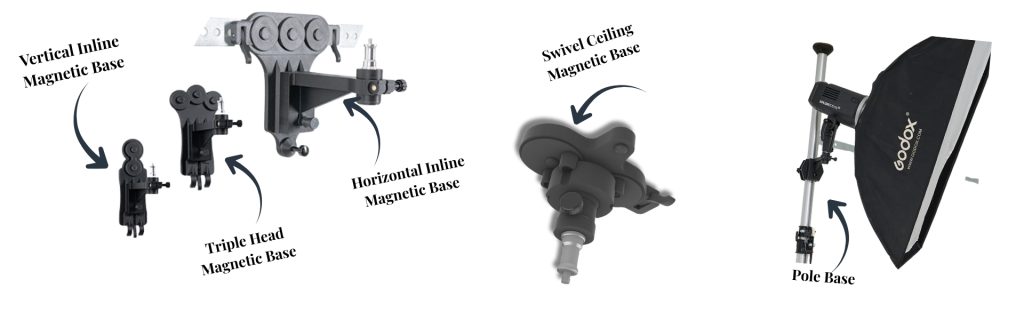
Step 1 – Choose Your Mounting Hardware
Choose the mounts made for your TogDrop base such as the metal wall, light stand, pole system or drop ceiling base.
Step 2 – Position Your Key Light
Mount your main light slightly above eye level and angle it toward your subject.
Step 3 – Add Fill or Accent Lighting
Attach secondary lights or reflectors to your TogDrop base to control shadows and boost detail.
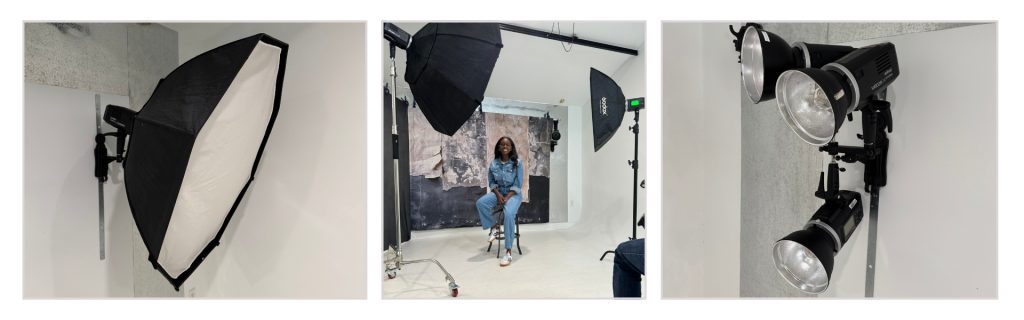
Step 4 – Lock It In
Secure your mounts and mark positions so you can repeat the setup easily.
Real World Studio Transformation
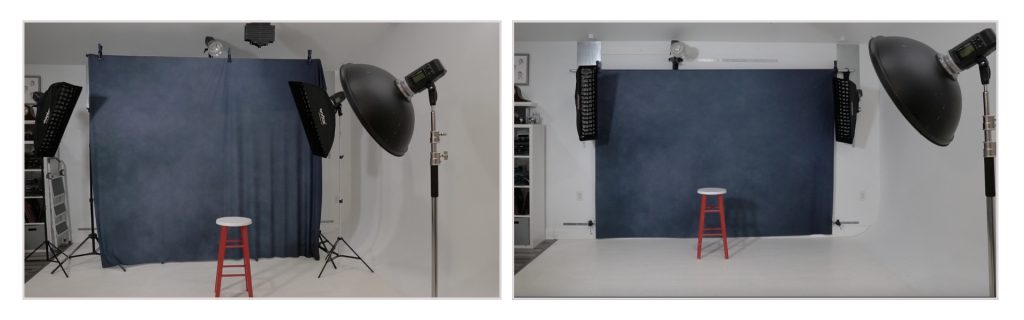
A TogDrop user shared that integrated lighting completely changed their mini session workflow. Before using TogDrop lighting mounts, they spent five to seven minutes adjusting stands between families and their space felt crowded.
After adding integrated mounts:
• Setup time dropped to zero
• Lighting stayed consistent
• The floor stayed clear for kids
• Sessions finished on time with room to spare
The results included more sessions in the same day, better client reviews and lower stress.
See More TogDrop Studio Transformations
Lighting Mount Options for Every Studio
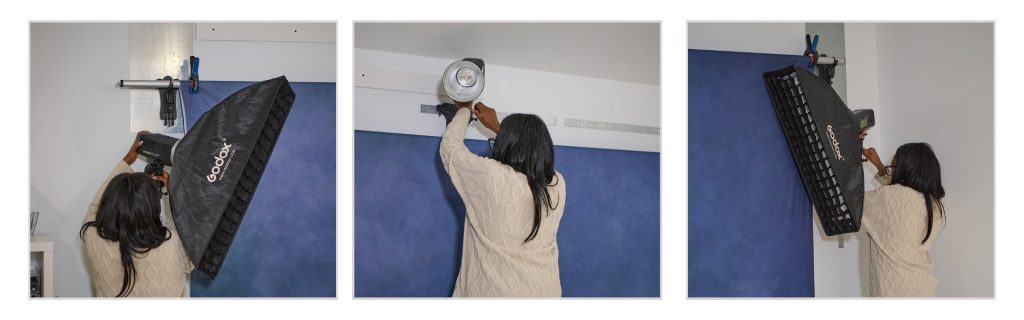
Entry setup
Use TogDrop basic lighting mounts for small studios or single light setups.
Expanded setup
Use additional mount points to position lights overhead or on both sides of your shooting area.
Advanced setup
Use multiple integrated lighting zones for full room or multi-set studio layouts.
Explore TogDrop Systems and Accessories
Best Lighting Practices for TogDrop Systems
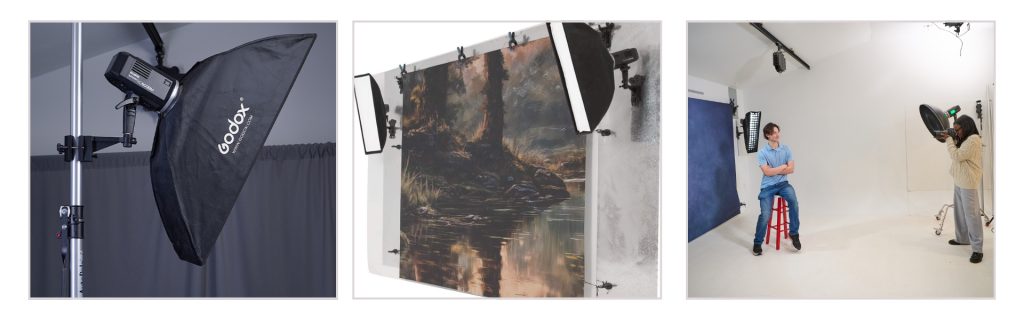
Your lights perform best when placed consistently. TogDrop gives you the repeatability you need for dependable sessions.
For dependable results:
• Keep your lights at a comfortable working height
• Add modifiers such as softboxes or diffusers
• Use one movable stand only if needed for creative flexibility
Learn More About TogDrop Lighting Mounts
Pro Tips for Integrated Lighting Success
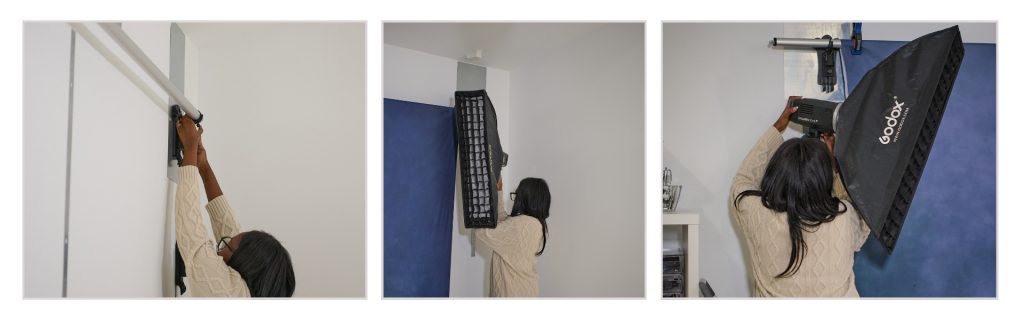
1. Secure your mounts completely and check all connection points
2. Use clean cable management to avoid snags
3. Mark your lighting positions for consistency
4. Test your lighting with each backdrop color
5. Start with one light and expand once you feel confident
Common Mistakes to Avoid
• Mounting lights too close
• Forgetting light modifiers
• Overcomplicating your setup
• Not tightening mounts securely
Why TogDrop Integrated Lighting Changes Everything
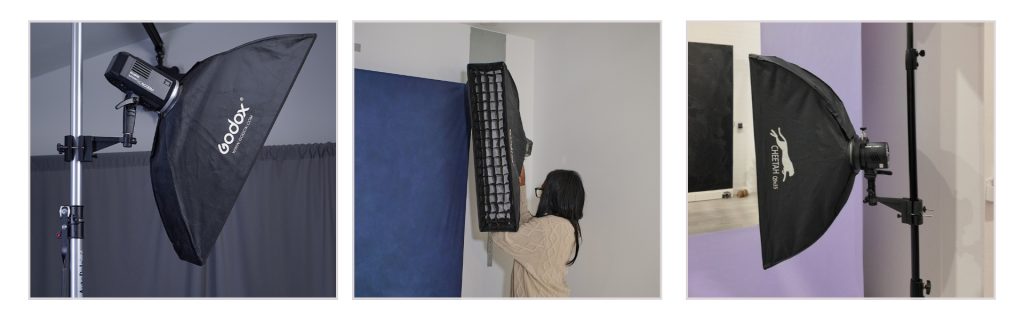
With TogDrop integrated lighting, you can switch scenes without moving your lights and maintain consistent results across multiple sets. This keeps your focus on your clients and gives you a workspace that finally feels easy to manage.
Explore Integrated Lighting Mounts
Transform Your Studio Today
Integrated lighting with TogDrop is a workflow upgrade. Once you experience a session without floor clutter or constant adjustments, you will not want to go back.
Start with one mounted light and expand as your needs grow. Every light you integrate brings you closer to a smoother and more profitable workflow.